
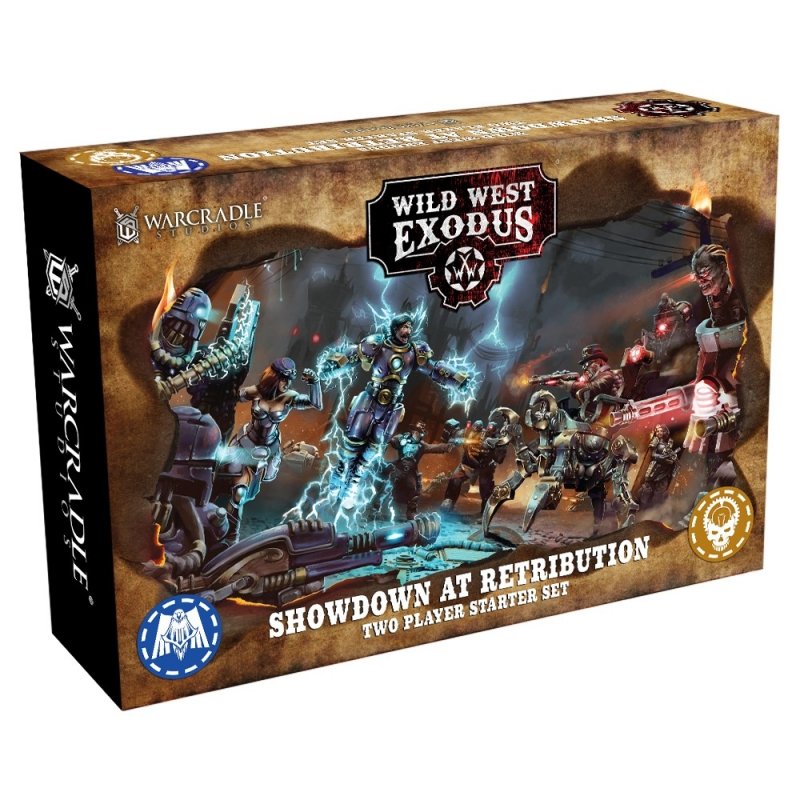
Now that many of you have been enjoying pitting your Union and Enlightened forces from Showdown at Retribution against each other, are you stumped on how you want to paint your forces?
Daz is back once again with another step-by-step on the new two player starter set for Wild West Exodus. This time it's the turn of the Enlightened to stand out on the battlefield! He’s mean, he’s green, and he is one ruthless machine - it’s Smash & Grab.
Make sure to keep reading below and follow the steps to get your hulking construct looking just as good as Daz’s.
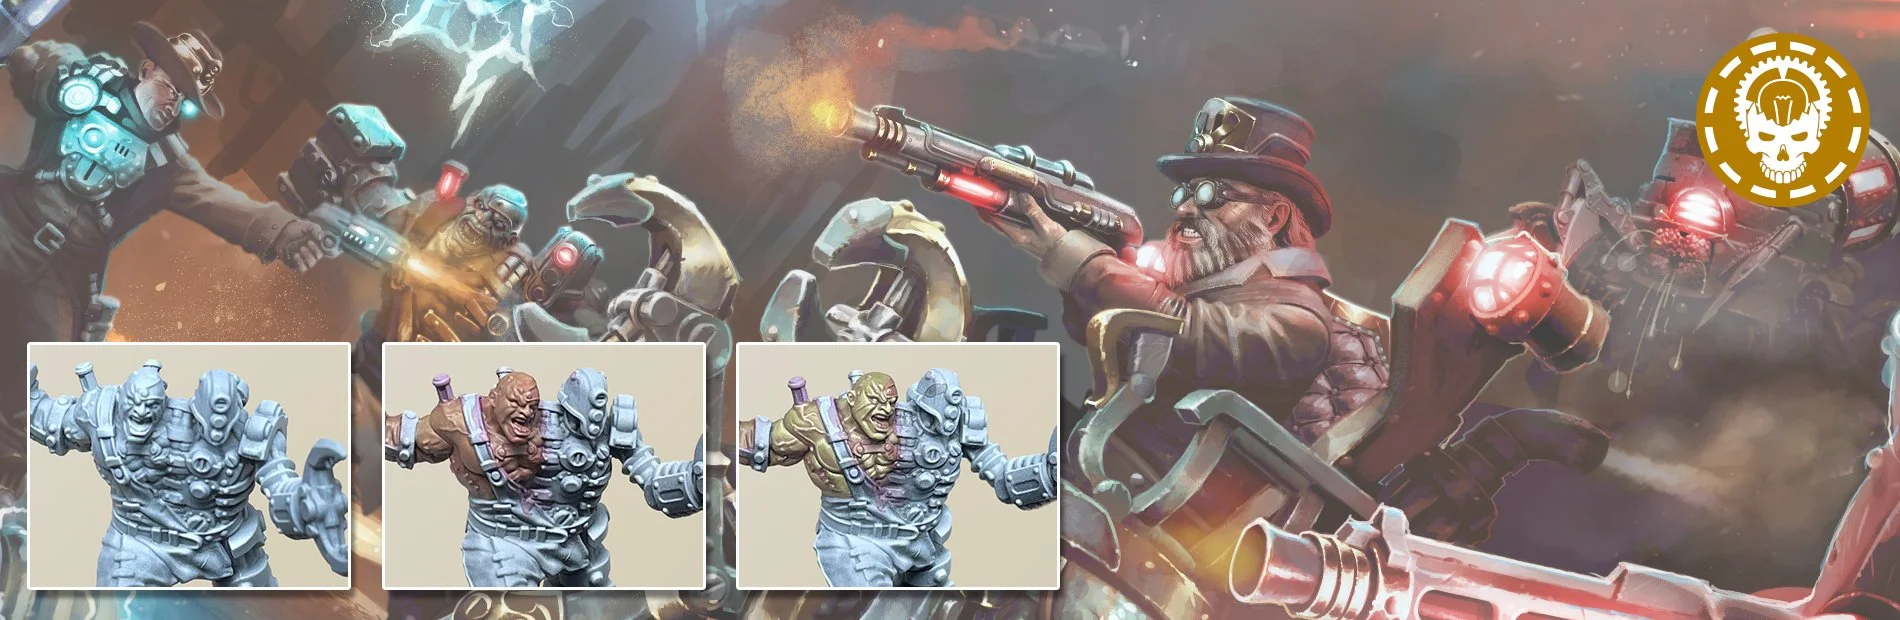
Step 1 - To start out I primed the model with GW Chaos Black Spray and then applied a zenithal highlight of Morrow White in three layers, getting stronger towards the top of the model to simulate a light source.
Step 2 - Next, I base coated the skin in a 50/50 mix of P3 Traitor Green and Skorne Red.
Step 3 - I then applied a wash of 50/50 Vallejo Violet Ink and Red Ink, removing any excess with a damp brush during the process. I pushed the ink into the areas I wished to suggest a hint of rawness, especially around the parts where skin and machine meet.
Step 4 - Then, I applied the first layer of Pure Traitor Green over nearly all of the exposed musculature, leaving the recesses as they were.
Step 5 - I added a spot of Mouldy Ochre to the Traitor Green and sketched out where the main highlights would be. Don’t worry too much about your blends as we’ll be coming back to that later.
Step 6 - Next, I added a spot of Sickly Skin to the previous mix and placed the extreme highlights carefully. You still don’t need to worry about the blends at this point as we’ll be dealing with that next.
Step 7 - I applied a glaze of Traitor Green over the entire skin area. Once dry, I repeated the process three more times but moved a little further away from the highlights each time to allow for a soft blend.
Step 8 - After this I applied a glaze of Coal Black to blend the shadows out of the recesses. I repeated this three more times like before to soften the blend.
Step 9 - Finally, I reapplied the most extreme highlights using a glaze of Sickly Skin. I repeated this twice more to sharpen the contrast. I also applied a glaze of 50/50 Coal Black and Armour Wash to slightly desaturate the skin.
I’ll be coming back to finish the detailing later so for now we’re done!
You can easily vary the tones of your constructs by swapping out the Traitor Green whilst sticking to the rest of the process. I’m a fan of using Greatcoat Grey, Trollblood Highlight and Khardic Flesh as alternatives.
Here is the fully painted Smash & Grab by Daz.
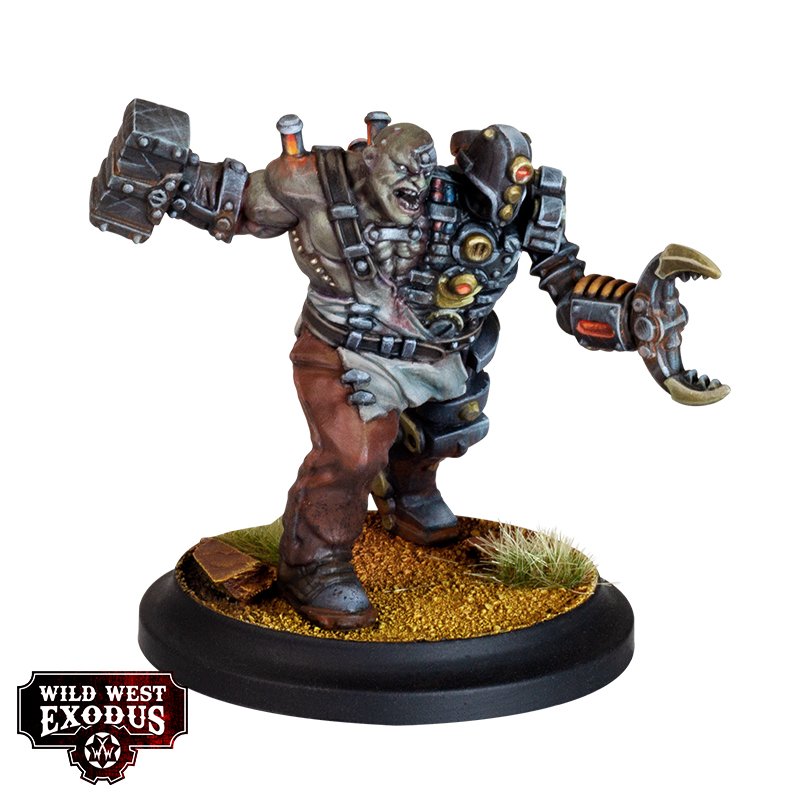
And there you have it, the Smash side of Smash & Grab in all his vicious glory. Make sure to keep an eye out for future Warcradle Studios blog posts for updates on Daz’s progress with the Showdown at Retribution Two Player Starter Set.
Interested in painting your own Smash & Grab, or other miniatures from Showdown at Retribution? Pick up your own copy at your FLGS or at Wayland Games online now.
Keep up to date with all of our socials, including Facebook, Instagram and Twitter for spoilers and new releases.